I still remember the first image I tried to animate. It was a clean studio shot of a woman holding a coffee cup, and I figured Kling would just bring it to life. Instead the cup melted into her hand, her face drifted into someone else's, and the whole thing wobbled like jelly. I almost decided image-to-video "wasn't ready yet."
It was ready. I wasn't. I was treating the image as decoration and letting the model guess everything else. Once I learned that two things decide the result, the start image and how you describe the motion, my clips went from melted nightmares to footage I'd actually post.
This is the practical guide I wish I'd had. Here's how to use Kling 3.0 image to video without the melting, the morphing, or the wasted credits.
Why start with an image at all?
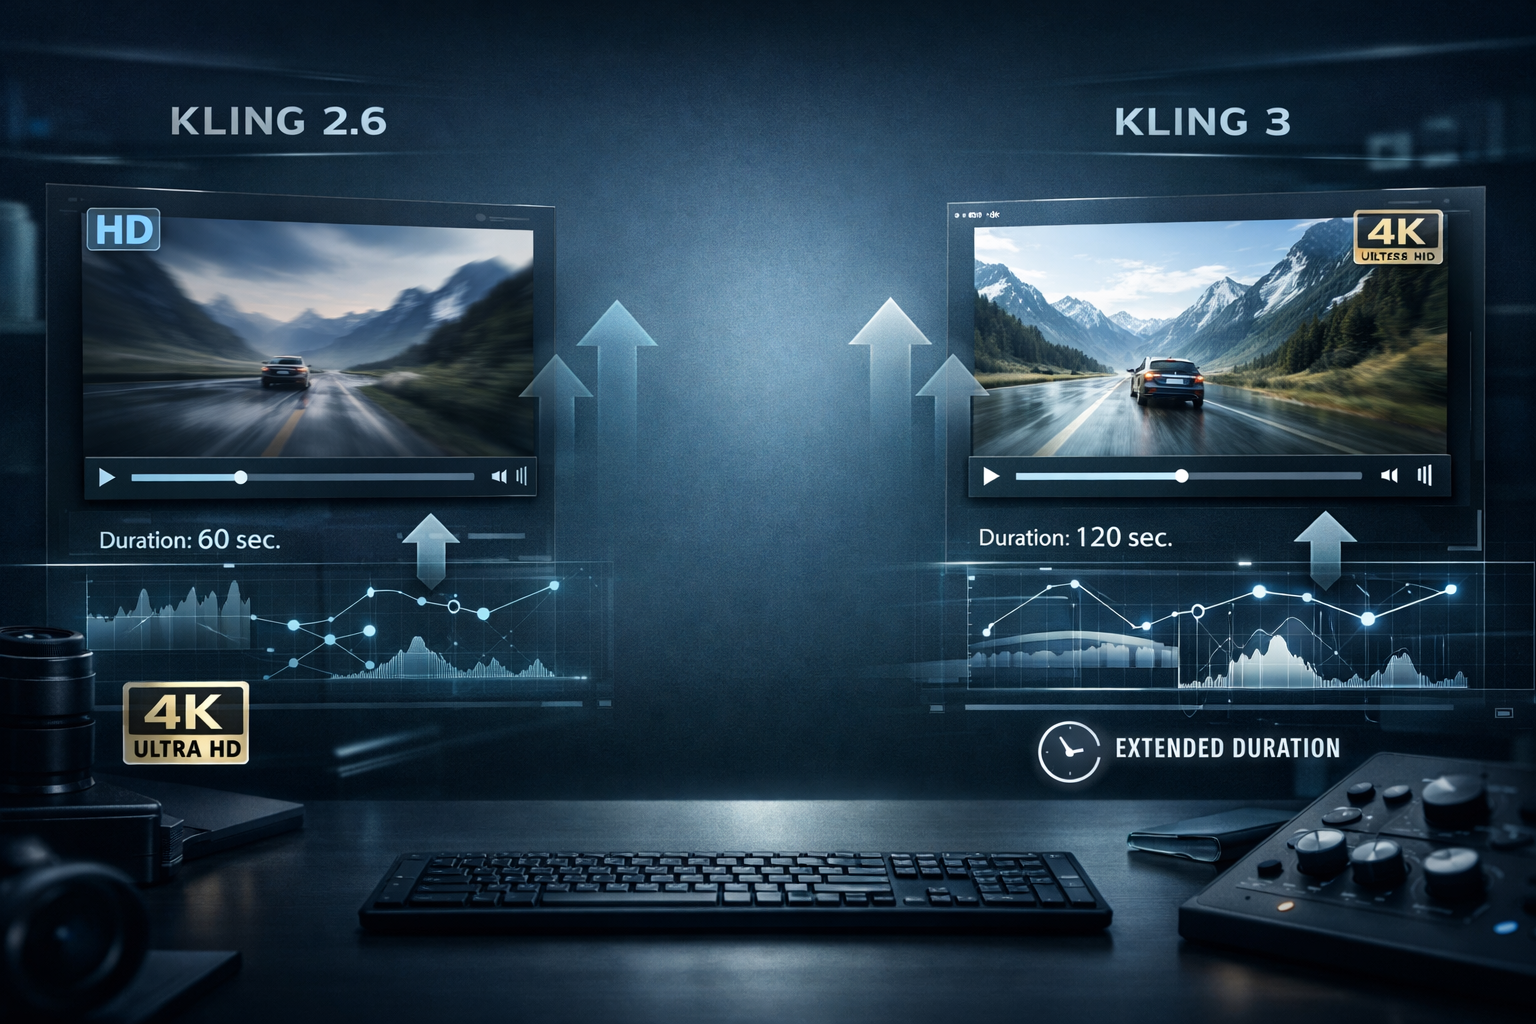
Text-to-video is great when you have nothing. But the moment you have a specific look in mind, a product, a character, a place, an image gives Kling something text never can: a locked first frame. Kling 3.0, launched by Kuaishou in early February 2026, holds element and character consistency far better than older versions, so when you feed it a strong starting image, it preserves the faces, textures, and details instead of reinventing them every frame.
In plain terms: text-to-video describes a world; image-to-video animates the exact one you already have. That control is the whole point. You can run all of this in your browser on Kling 3 AI, no install and no API key, which makes it cheap to experiment.
1. Start with a strong image
Your start frame is the ceiling for everything that follows. A blurry, cluttered, or low-resolution image gives the model a shaky foundation, and no prompt will save it. Before you animate anything, ask three questions: is the subject sharp and clearly lit, is the composition clean enough to leave room for movement, and is the framing the one you actually want the camera to start on? Fix the image first. A great clip almost always starts with a great still.
2. Write a motion prompt, not a scene
This is the mistake that melted my coffee cup. With image-to-video, the picture already defines what things look like, so your prompt's only job is to describe what moves. Keep the subject description light and spend your words on motion.
A simple structure that works every time is Subject + Movement + Background: name the main subject, describe exactly how it moves, then describe how the surroundings or camera behave. Compare these:
| Weak prompt | Strong prompt |
|---|---|
| "A woman with coffee, cinematic, 4K, detailed." | "The woman slowly lifts the coffee cup to her lips and smiles. Steam rises gently. Camera pushes in on her face." |
The weak one re-describes the image and tells Kling nothing about motion. The strong one gives it a clear job. If you want to go deeper on prompt craft, our guide on how to prompt Kling 3.0 breaks down the full director's formula.
3. Lock your character with element reference
If you're animating a person and their face starts drifting, you're not using Kling's consistency tools. Kling 3.0 lets you bind a subject (often called element reference) so the model treats the face and clothing in your image as fixed. Turn it on whenever a recognizable person, mascot, or product has to stay identical from the first frame to the last. This single setting is the difference between "that's my character" and "that's a stranger who showed up halfway through."
4. Use a start and an end frame
Most people only set the first frame. But Kling 3.0 also lets you provide an end frame, and it will interpolate the motion between the two. This is the closest thing to directing the exact movement you want: set where the shot begins, set where it lands, and let the model fill the in-between. It's perfect for controlled actions, a door opening, a product rotating, a character turning to face the camera, where you don't want the motion to wander.
5. Pick the right duration and aspect ratio
Don't default to the shortest clip out of habit. Kling 3.0 generates short clips, commonly 5 or 10 seconds and up to 15, so give the action enough room to actually complete. A nod that gets cut off at three seconds looks broken; the same nod over six seconds looks intentional. Match your aspect ratio to where the video will live, too: vertical for shorts and reels, widescreen for YouTube or a hero banner. Decide this before you generate, not after.
6. Add native audio on purpose
One of the biggest upgrades in Kling 3.0 is that it generates audio together with the picture, including dialogue and ambient sound across multiple languages. Image-to-video benefits just as much as text-to-video here. If your animated scene should have footsteps, rain, a spoken line, or a room tone, say so in the prompt. Silence is a choice, and leaving it unspecified means leaving it to chance.
7. Generate, then change one thing at a time
Your first render is a draft, not a verdict. When something is off, resist the urge to rewrite everything. Change one variable, the motion verb, the camera move, the duration, and regenerate. Iterating one knob at a time teaches you how Kling responds, so your third or fourth attempt is dialed in instead of random. Because you're working in the browser on Kling 3 AI, that loop is fast and low-friction.
Avoid these image-to-video mistakes
A few habits quietly ruin good clips:
- Over-describing the subject. The image already shows it. Re-listing every detail just fights the picture. Describe motion instead.
- Asking for too much motion at once. Five simultaneous actions confuse the model. One or two clear movements beat a chaotic everything-at-once prompt.
- Ignoring consistency tools. If a face or logo matters, bind the subject. Don't hope, lock it.
- Skipping the end frame for precise actions. When the exact motion matters, give Kling a destination.
A copy-ready example
Here's a full image-to-video prompt you can adapt. Upload a portrait, turn on subject binding, and paste:
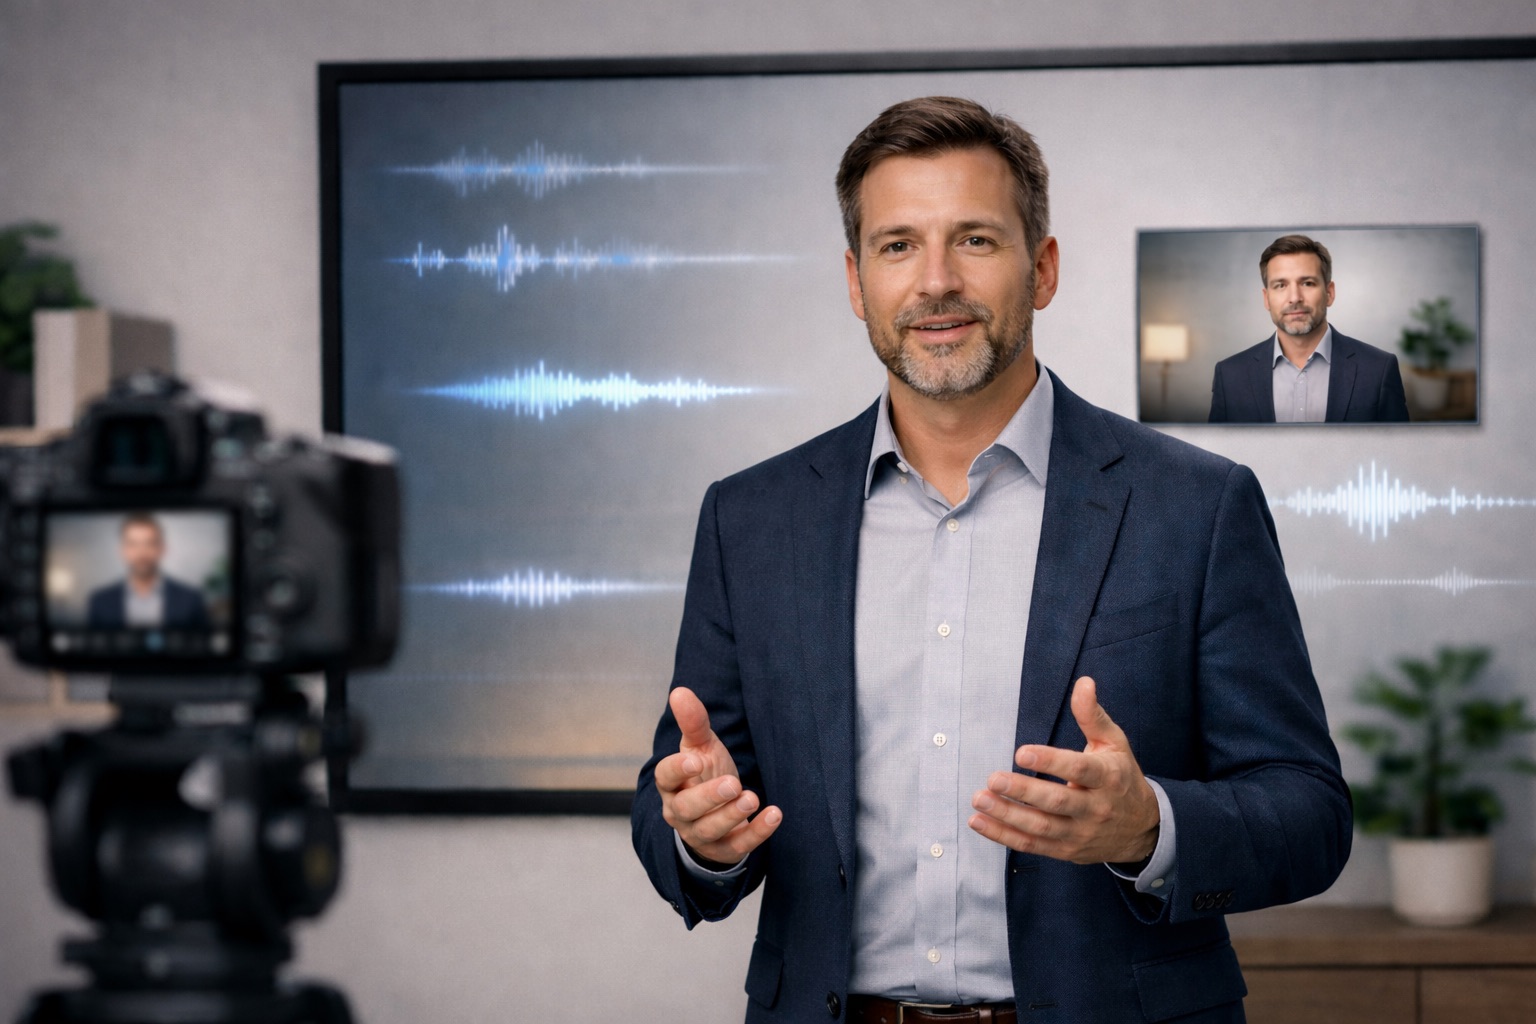
"Subject: the man in the navy jacket (KEEP IDENTITY LOCKED). Movement: he turns his head slowly toward the camera and gives a small, confident nod. Background: soft city lights blur behind him; a gentle breeze moves his hair. Camera: slow push-in on his face. Audio: faint street ambience, distant traffic. Duration: 10 seconds."
Generate it, then change just the camera move or the duration and watch how the feel shifts.
The Bottom Line
The bottom line is simple: with Kling 3.0 image to video, your start image and your motion prompt do almost all the work. Pick a sharp, well-composed image, describe what moves instead of what it looks like, lock your subject for consistency, and use start and end frames when the motion has to be precise. Do that, and the melting stops.
Here's what I'd do next: grab one image you've been wanting to bring to life, open Kling 3 AI, and run the copy-ready prompt above with your own subject. Change one setting, generate again, and you'll feel the control click into place, no melted coffee cups required.
Sources
- Kling AI Launches 3.0 Model — official announcement: release timing, clip durations up to 15 seconds, native audio across languages, and stronger element and character consistency.
- Kling AI Image-to-Video Quickstart — Kling AI official guide: the image-to-video workflow, start/end frame support, and the subject + movement + background prompt structure.
- Kling Image 3.0 Omni: Native 4K and Series Mode — Kling AI official blog: native high-resolution output and multi-shot creation.
A note on sourcing: Kling 3.0's exact limits (clip durations, supported audio languages, resolution tiers, and the names of in-app controls like subject binding) come from Kling AI's own announcements and product pages as of mid-2026 and may change as the product updates, so verify current options inside the app before relying on them.